
Delicious Bread Worth Devouring
Every bite of this quality artisan bread will inspire you to bake more and create your own recipes and variants.
Every bite of this quality artisan bread will inspire you to bake more and create your own recipes and variants.
I've been baking sourdough long enough that I've been able to experience everything from uneditable bricks and rubber pucks to fluffy rye loaves and delicious sourdough pizza crusts. As time went on I was looking for something that I found both delicious and convenient to bake. That's something amazing I discovered about sourdough, when you have a grasp of how it reacts in different situations, you see how amazingly flexible it is. That same quality is also what can make it in the beginning so frustrating to work with.
With this recipe you can adjust it to do a super long rise in the fridge to give it that extra tasty zing, or you can do the the whole thing in a day, or even half a day if you don't have the time or energy. I started out doing the standard methods, experimented with many varieties, and settled on this one as my goto recipe, as it both produces a quality artisan bread as well as being relatively low maintenance. I also really like using Spelt and Rye flour. Good wheat can be quite tasty but my body has always enjoyed the older variants much more.
All ingredients are flexible but you should try at first to keep the ratios the same. (percentage of water to flour and salt to dough)
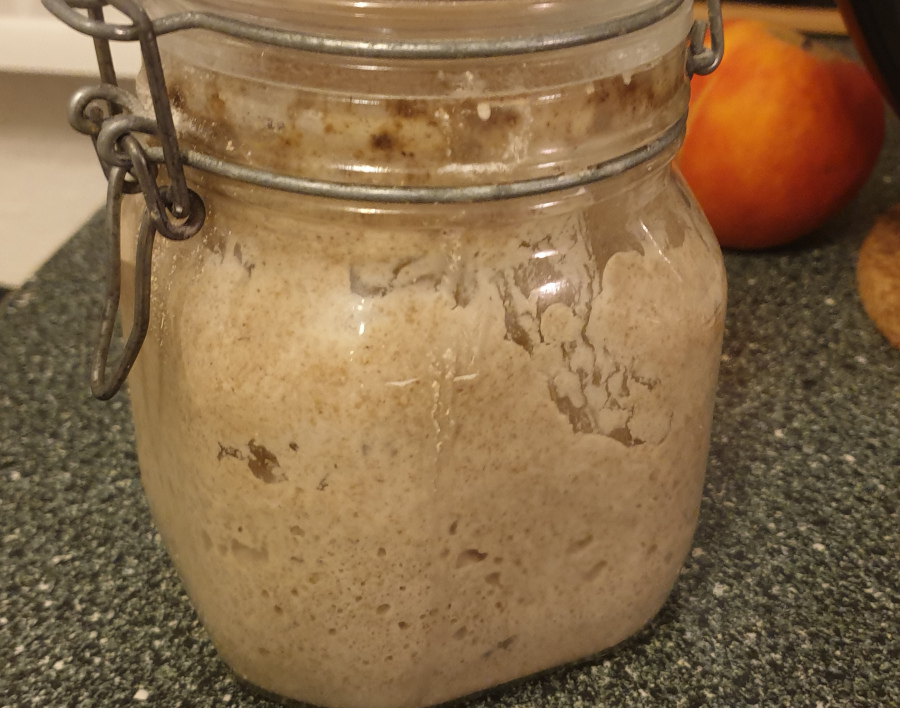
250g (about 275-300g in your jar)
Instead of doing multiple feedings for a loaf I've settled on using a rather large amount of starter. You can just leave it in the fridge and when you're ready to bake, pull it out and mix it in the recipe. Then refill/feed, put it back in the fridge and you're good to go until the next time you want to bake. I pretty much always use a 1:1 ratio (or 100% hydration) of rye flour to water. If you can get freshly ground rye, the bacteria love it and it tastes wonderful. As you can see, it's about time I cleaned my jar.
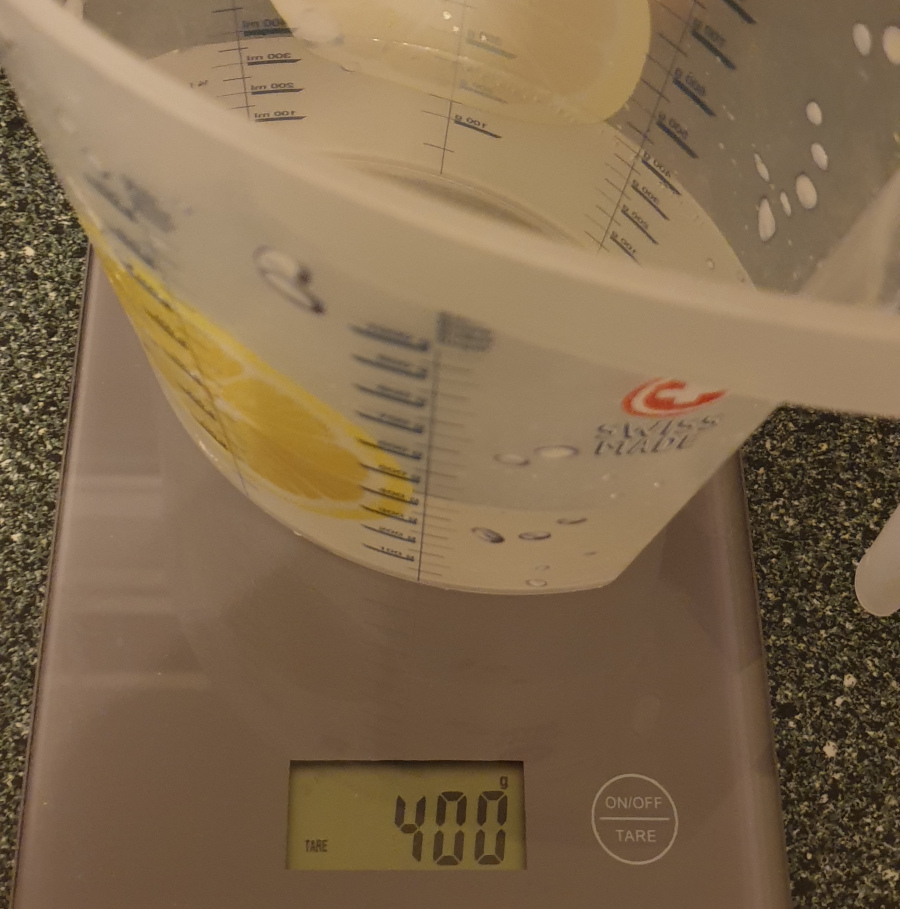
400g
This step is pretty simple, get some filtered water. You can of course adjust the amount depending on how firm or fluffy you want your bread to be.
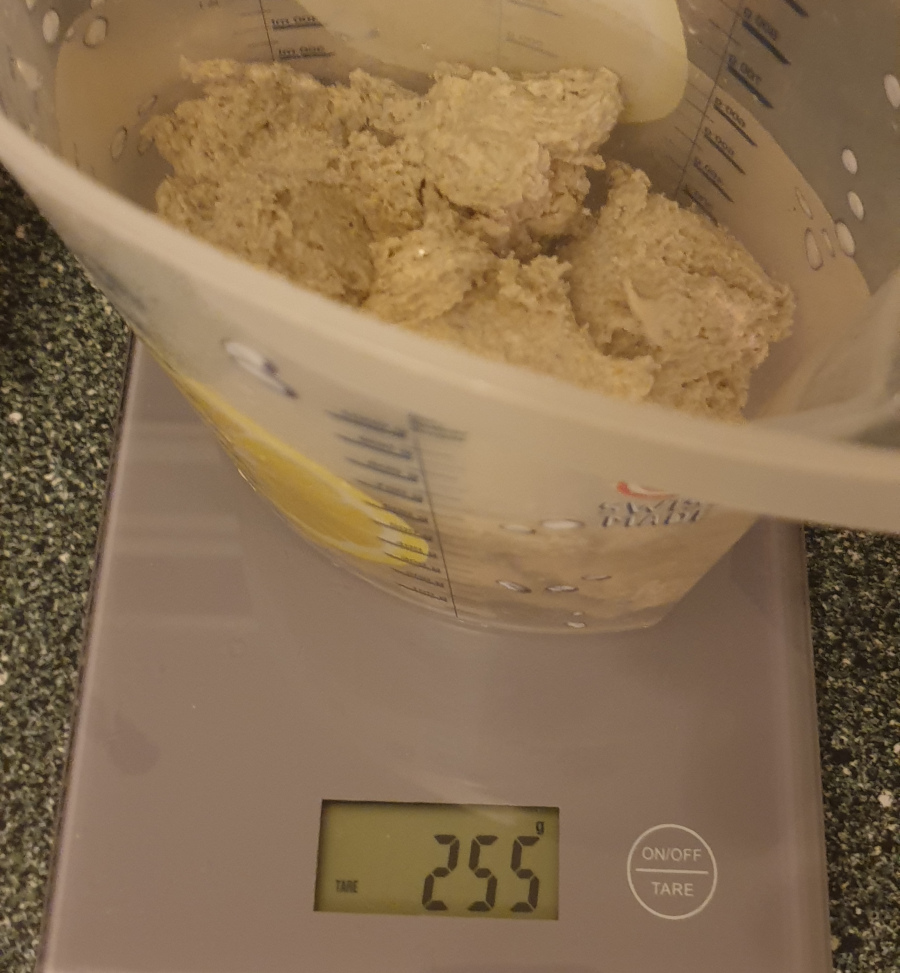
250g
Simply add the starter to the water. This step is not a must, but I found it to be quite practical in mixing the starter thoroughly into the flour. You can see getting it exact is not necessary. You just want to leave enough in your jar for the next batch.
After mixing with a spoon you can refill your starter jar with 125g water and 125g flour and put it back into the fridge.
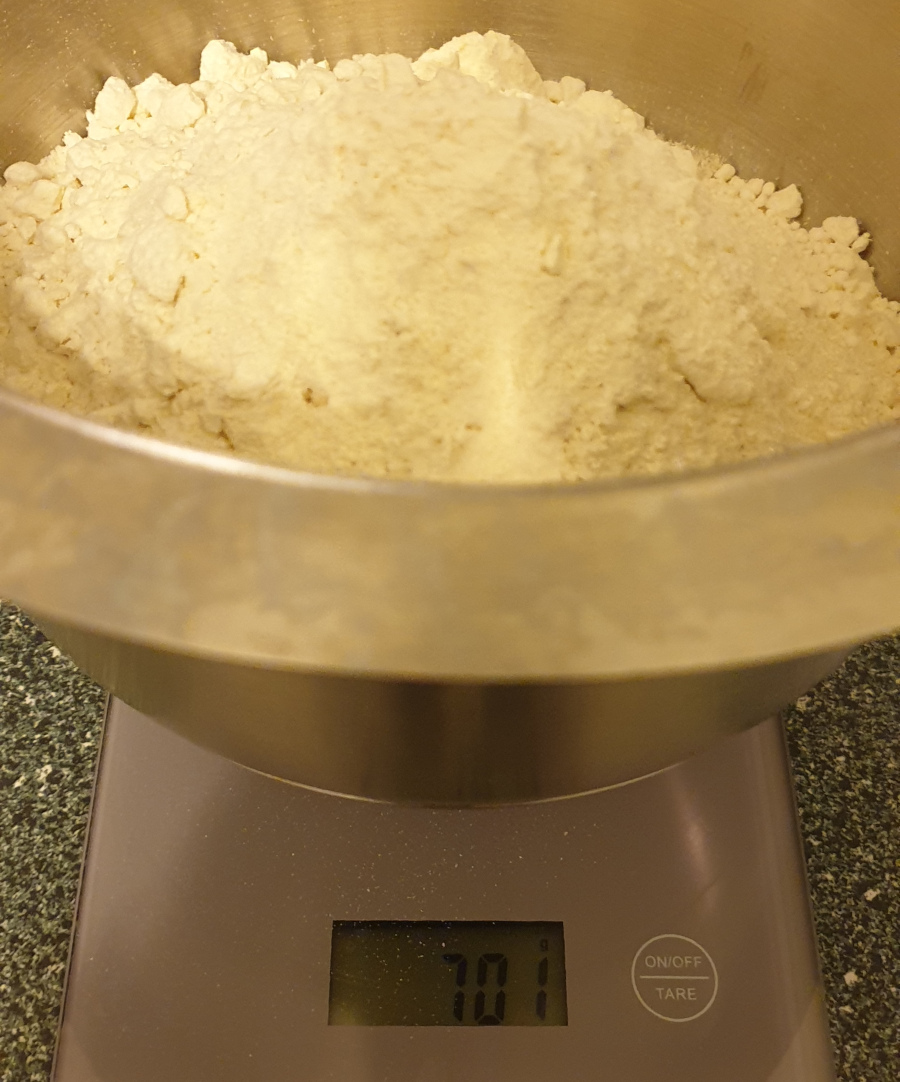
700g
Put the flour of your choice in a bowl. I'm using here a mix of freshly ground rye and store bought spelt.
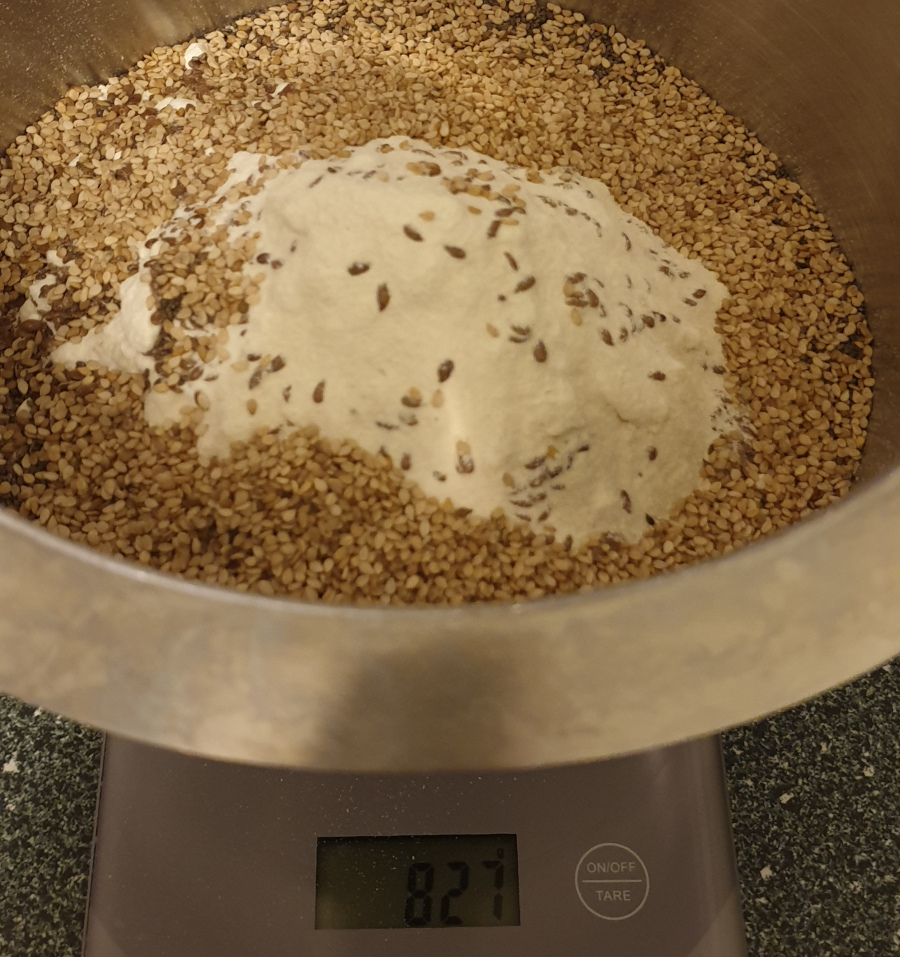
75-150g
This is optional but find it gives the bread not only a great taste but a healthy weight to it as well. I usually use a mix of whatever I feel like and sometimes less, sometimes more. You'll possibly have to adjust the flour to water ratio if you leave this step out.
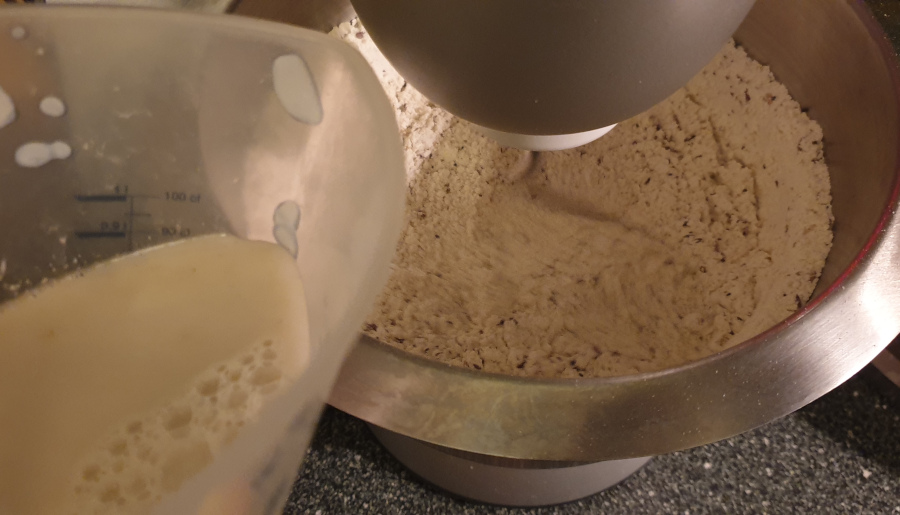
First mix the flour well with any seeds, then add the water. You can see I'm using a machine here but doing this by hand or with a whisk works just as well. I'm just lazy. We still have a little bit of kneading to do by hand, so don't worry about missing out on that part.
Pro Tip: After the water and starter has been added to the flour: 20-40g Olive Oil: for a bit more 'Italian' style crust 4 Tablespoons Apple Vinegar: for a bit more bite and tangy-ness
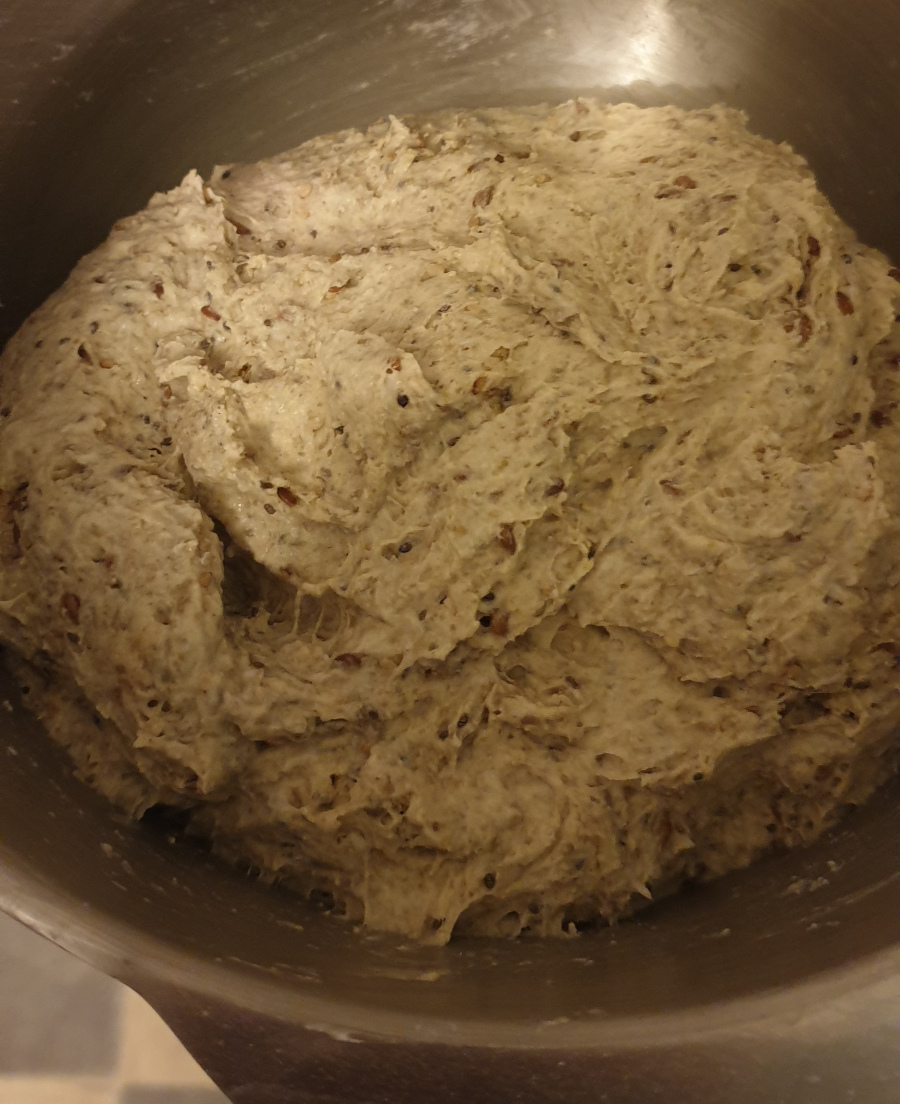
In the machine I let it mix for about 5 mins. With spelt one doesn't need much mixing and too much can actually be detrimental, as there isn't as much glutin and it begins breaking down when mixed too much. I then do a few folds in the bowl to make sure everything got mixed well and there's no scraps stuck at the bottom of the bowl.
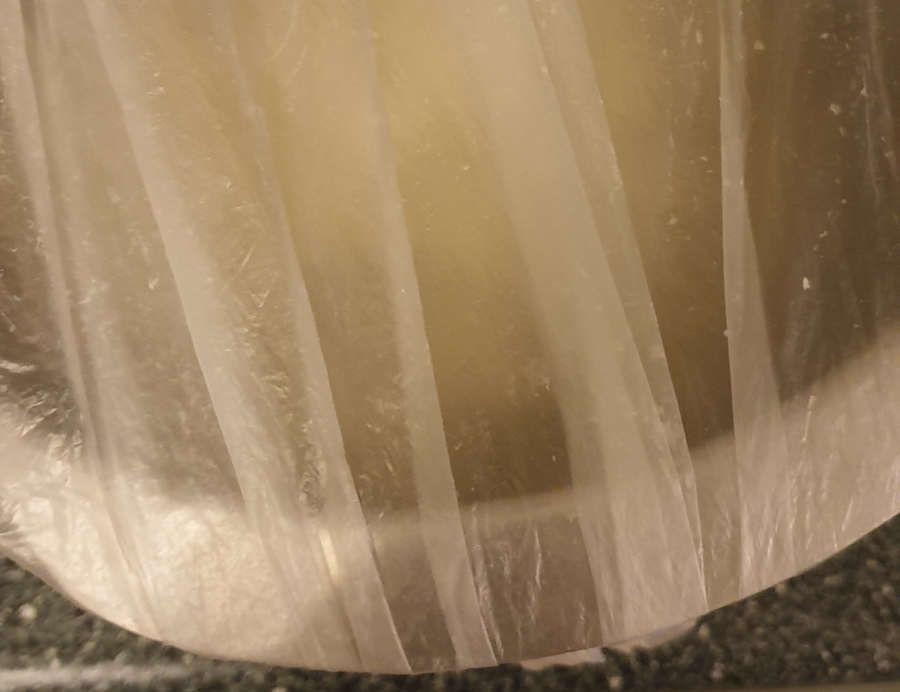
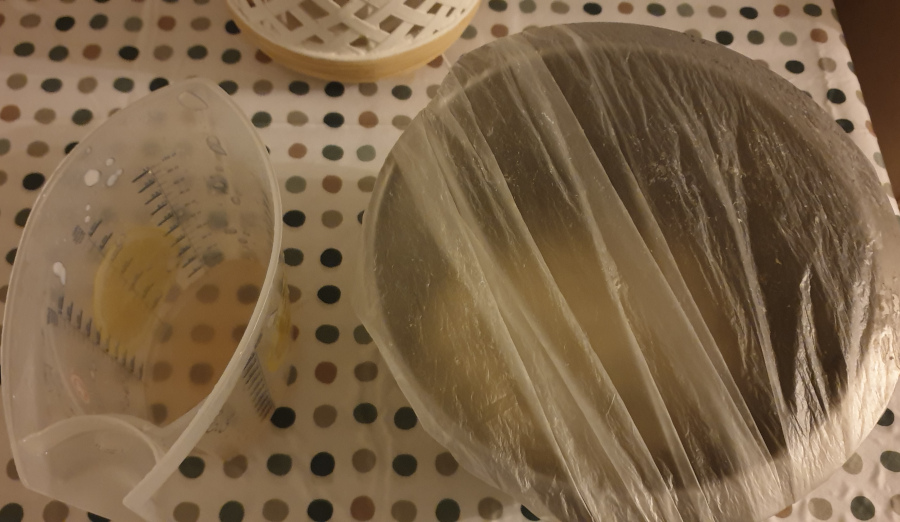
Cover the bowl with a plastic bag. This is much preferred to a towel as condensation builds up on the cover in the fridge.
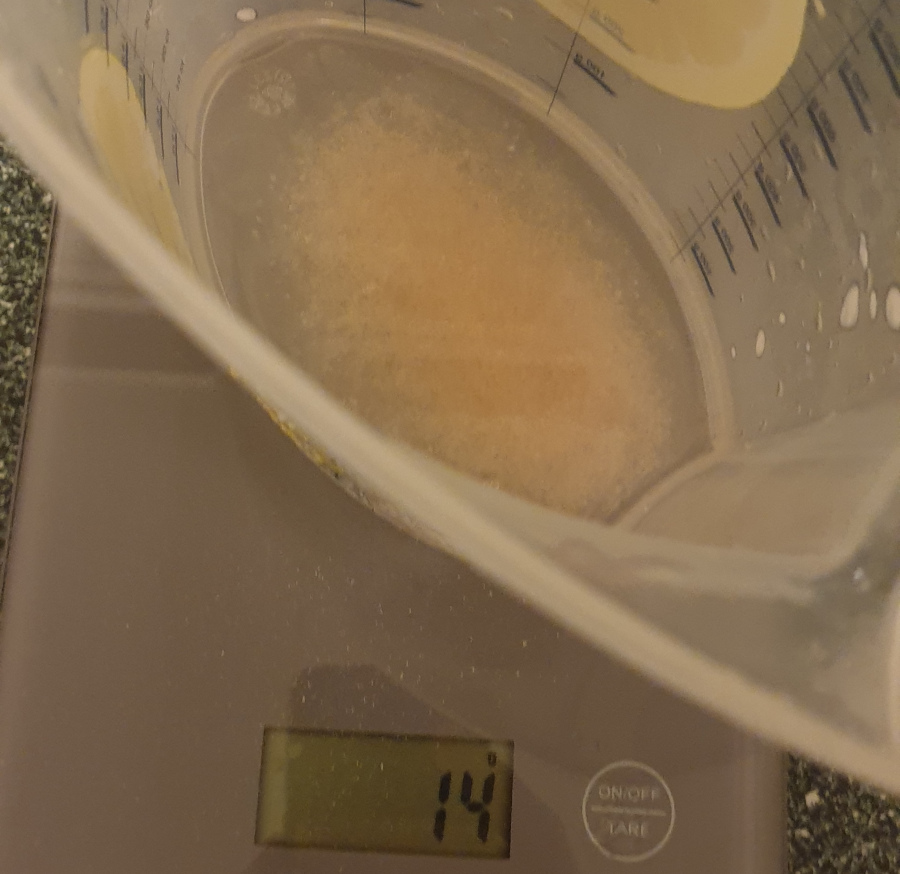
50g Water 14g Salt
This is a standard bakers salt ratio for this recipe. I mix a bit of water with the salt so that mixing it into the dough later is easier and dissolves nicely.
I let the dough usually sit on the counter for 1-2 hours to let the dough autolyse and then fold the salt mix into the dough. Not kneading the the dough too much beforehand also helps with the autolyse. If you're unfamiliar with the autolyse process and it's benefits, check it out here. I notice a difference and the work needed is very minimal. You can definitely just knead the salt mix right away into the dough if you want to skip this step.
Folding the salt mix into the dough can take a moment, but then our hard work is done. You'll know it's mixed well when the dough is starts to get sticky again. Then place the dough in the fridge and let it rise anywhere from 4 to 48 hours. I usually am doing 12 or 24 hours rises, as it fits into either my workdays or overnight on the weekends.
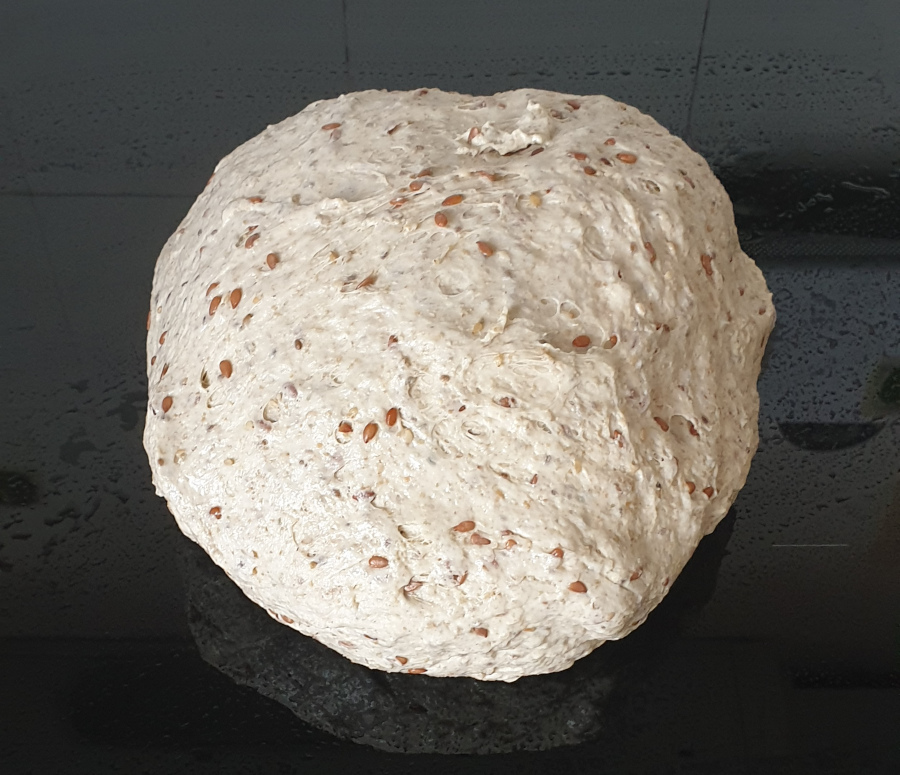
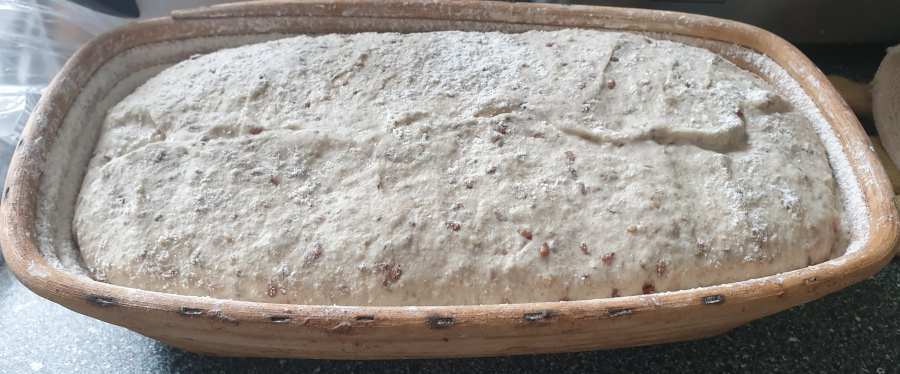
After the rise period I like to use a bread proofing basket and shape the loaf a bit. I find this gives the loaf more of a consistent shape and nice crust. This isn't mandatory and if your dough is very hydrated, it won't keep a form anyway and you can skip these steps.
I roll the dough gently into either a round form or a long form. Since my basket and Römertopf are both the long standard shape, I do the long form.
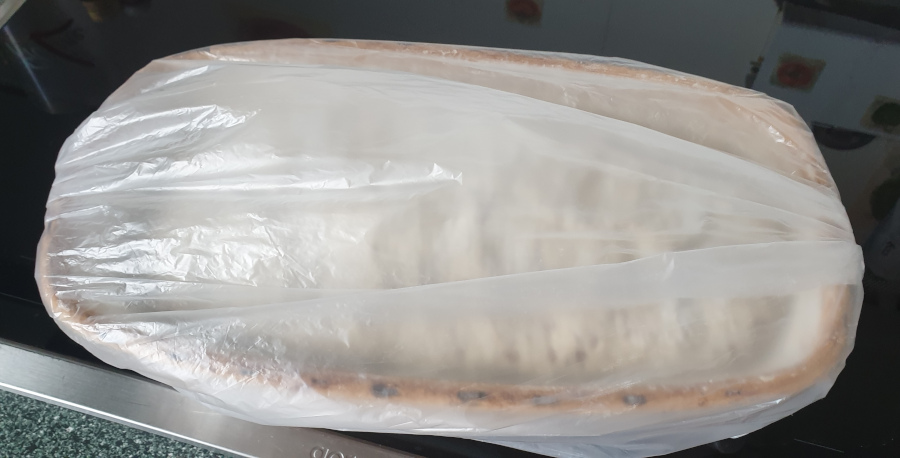
Lay the dough in your proofing basket, which is of course pre-floured. Flour the top a bit, cover it and let it sit in your kitchen for about an hour. This let's the dough slowly come up to room temperature and I find it helps with oven spring, as the sourdough culture becomes more active.
250°+C
After about an hour you'll notice that the dough has begun rising again and is filling the basket up. Now we'll put our baking container, in my case a Römertopf, in the oven and preheat the oven at your max oven temperature. My oven goes to 275°C
250°C for 20 Minutes
200°C for 15 Minutes
200°C for 10 Minutes with the cover off
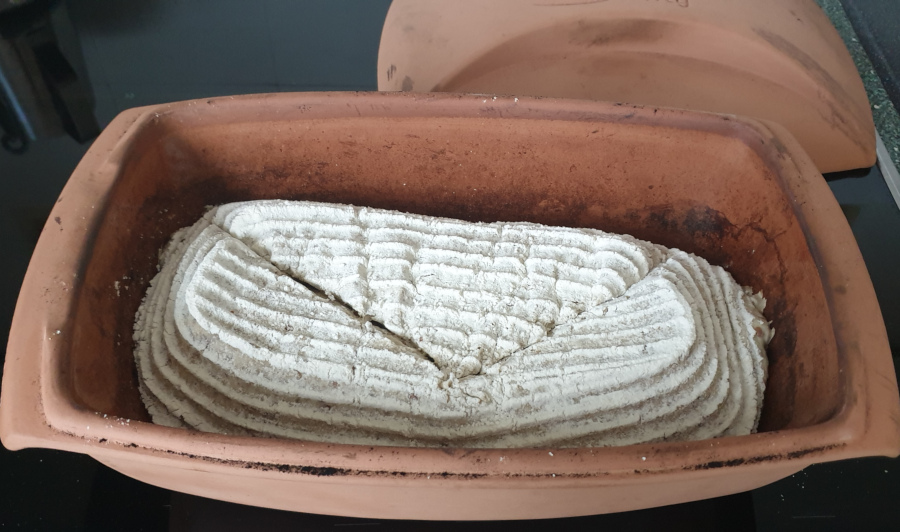
Drop the dough from your proofing basket or bowl into your container, score it with a sharp knife, put the cover on, put it in the oven and turn the temperature to 250°C for 20 minutes.
Turn the temperature down to 200°C for 15 minutes. This simulates the natural heat dynamics of a traditional fire oven and works great for the bread, IMHO. Any oven rise has been completed anyway by this time and the rest is pure baking time.
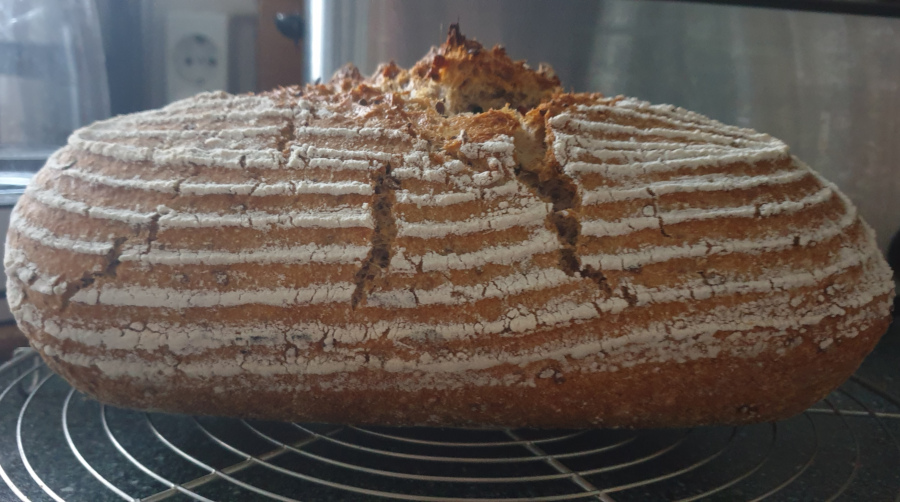
Take the cover off and let it bake for another 10 minutes. This creates a nice crispy crust. You can adjust the amount of time with the cover off to your liking, but I find this amount just right. You'll also notice a release of steam when you remove the cover and your breat should look fully risen.
60+ Minutes
Take your bread out of the oven and place on a cooling rack for at least an hour. If you can't wait, you can cut into the bread after about 30 minutes, but still escaping steam will make some parts of the loaf a bit mushy and the bread will still be firming up.
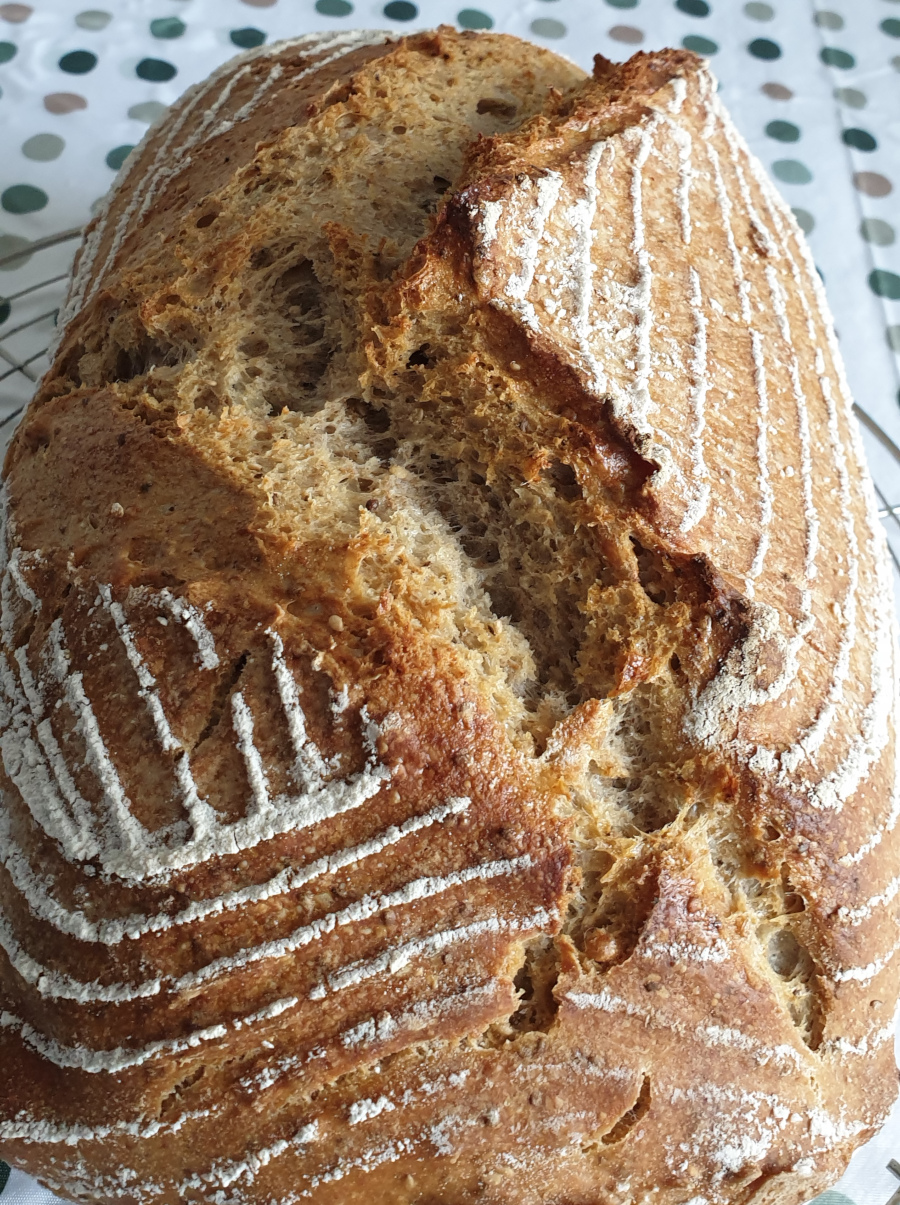
take it easy
Cut into your delicious home made loaf and don't eat it all at once!